 We have reviewed the Moto X shortly after it was launched but since then, we were able to text the Moto X online customization tool that people can use when they order a new handset. We’ve took it for a spin and we have compiled this walk through to show you how it looks. Maybe you’ll end up using it to customize your own phone down the road. After all, isn’t the most beautiful phone, the one you designed?
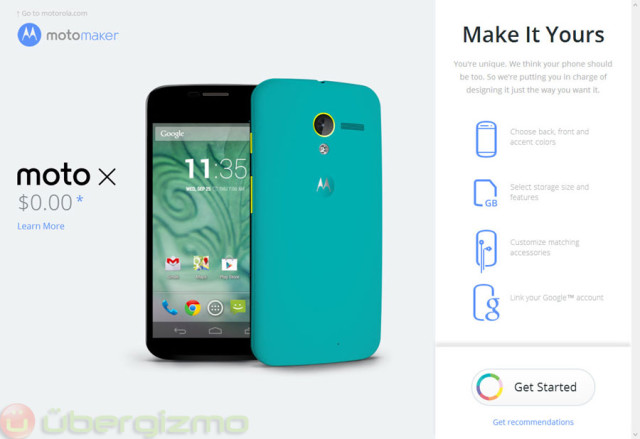
Just head to motorola.com/designit and prove that you are a “human” and you can start. If you have a PIN (here: 02JX-3TVJ), you can enter it and it will serve as a coupon code of sorts — handy for gifts.

Now the design fun can start. In the right side, Motorola shows you exactly what’s going to happen: pick colors, specs, accessories and check out. It can’t be much simpler than this.
1. Choose your style
Motorola offers some presets with “cool”, “neutral” and “warm” colors, but you can also extend each of those menus and choose specific colors for the back of the phone. This time, I picked a bold red which ended up looking very nice.
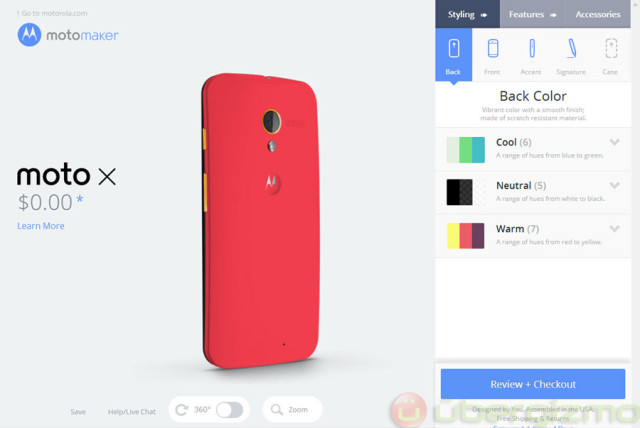
The front area is limited to black or white. Since the display assembly is probably glued, I don’t think that Motorola could have made this customizable in a practical and cost-effective way. We’ve already played with a white version, so I went for a black front. The end result is pretty cool (more photos later) and I can definitely say that the black front looks less “plastic” than its white counter part. Keep that in mind when you order yours.

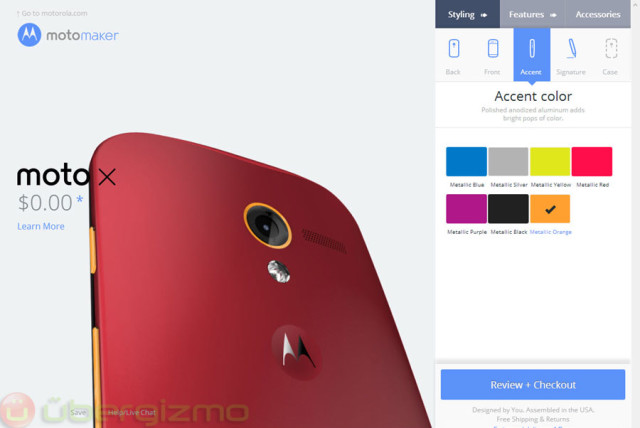
The accent color doesn’t cover a lot of surface, but it’s a very nice touch which gives a little boost in the phone design. It also make it a visually easier to find the Power and Volume button at first, but basically this just looks very cool. The accent color is on top of a metal base and the orange that I have chosen does feel “metallic” on the final product.
If you want to, you can add some text in the back. Many people typically choose not to do so, in case they want to give the phone away, or sell it. Since we have no such problems to deal with, I’ve added an “Ubergizmo” signature in the back. When we’ll give the phone away, it’ll remind its new owner to check the website daily :)

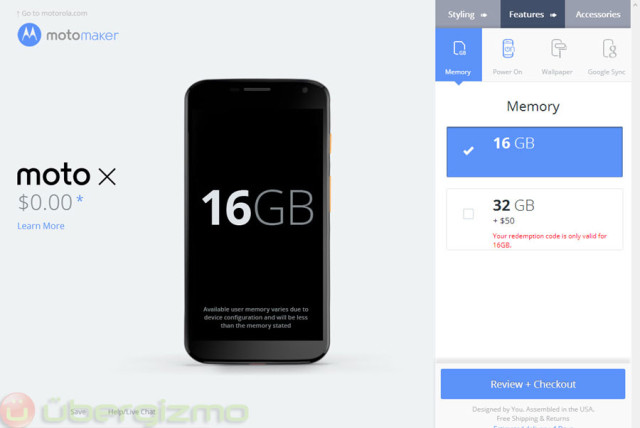
2. Choose internal storage capacity and final design options
Should you get another 16GB for $50? That is the question. Since there is no optional microSD card, you have to think this through carefully. My general rule of thumb is that if you get a bit anxious about storage now, then it’s probably worth paying the $50. If you have owned a smartphone before and don’t think that you’ll need it, then you’ll probably be OK without it. With my personal usage model, HD movies are the only thing that use a lot of space. Photos would be the second item on the list.
And now, you can customize the name that appears when the phone boots. Again I’ve opted for “Ubergizmo”. No surprise here.

Motorola lets you pick your wall paper right there, so that you won’t have to further configure things later. This is a big customization item, so it’s nice to have it ready to go. You cannot upload your own image, in case you are wondering.

If you want, you can even setup your G+ account during order time. It saves more taps when you get the phone for the first time. Also if your phone gets stolen during shipping, don’t worry: the password is still required during the first activation.

3. Accessories
Now is the time to get the proper colors for your charger and optional headphones. I picked Black for the charger, simply because the white ones can look pretty bad when they get dirty. I’m just a pragmatist I guess.

These headphones look great, but I’ll pass on that. Note that you can have an exact match with the back color — that’s pretty neat if you wear them often.

4. Checkout
That’s it! Now it’s time to check out. Login with a Google account or check-out as a guest, provide the shipping address and make your payment.

5. The result!
Four days later, our custom Moto X has arrived via Fedex, and it looks just like we expected – a little better, actually. the colors are vibrant, and I find it to look much better than the white version that I previously reviewed. It has arrived in a colorful box along with the usual accessories (charger+cable) that we’ve seen before. Nothing new there. Check out the full gallery to see the phone under many angles.


And that’s it. The overall process was extremely easy and the result is actually better than we expected. To be fair, it’s very hard to properly render those flashy colors on a screen, so maybe you should expect the phone to “pop” a little bit more than what the site shows. Other than that the whole process was flawless. It would have taken more time, or it would have cost more to ship the phone if it were assembled in China. Right now, all Moto X smartphones are assembled in Texas.
If you ordered a custom Moto X, upload a photo in the comments below and let’s compare!