Compressing files can be a great way to store data or send data. When data is compressed it takes, less space on your hard drive providing you more space to use and you will also be able to carry more data on your USBs and DVDs, etc.
Compression also helps in sending data online via email or uploading it on a platform for people to download. You also cannot send folders in an email, but you can compress a whole folder to send it via email.
The process of compressing files is quite easy and the best part is, Windows come with this feature built-in. You can easily compress files and send using Windows built-in feature without any need of third-party programs.
Although, using Third-party tools is quite a good option too, as you will be able to customize the compression according to your desire. In this tutorial, we are going to address both Windows built-in method and Third-party tools. You can just use the one which fulfills your needs perfectly.
Note: If you are compressing files to send to someone using a portable flash drive or via email, then you need to make sure the receiver has the right tool to open the compressed file. When you compress files they are compressed in a specific format such as “.zip” or “.rar”, so the receiver must have a tool that could open that compressed file.
Compress Files Using Windows Built-in Tool
As compared to Third-party tools, Windows compression tool is quite simple. Although, it also lacks many different customization options. It is perfect if you need to send something via email and don’t want get into the hassle of downloading a separate tool.

Just right click on the file or folder which you would like to compress and from the context menu hover your cursor over “Send to”.


Another menu will open, from there click on “Compressed (zipped) folder”. As soon as you click, Windows will start processing and a compressed folder will be created in the same location. The folder will contain all the files and folders which you selected to compress.
You can now easily send the compressed file via email (File size limit still applies) or use a flash drive.
Compress Files using 7-Zip
7-Zip is one of the most used tools for compressing files and comes with quite powerful compression. You can customize its settings before compression to gain desired results.

Once the program is downloaded and installed, you can just right click on file(s) and from context menu hover the cursor over 7-Zip. A new menu will be shown, just click on “Add to archive…” there.

A new Window will open with many options to customize. There, set compression level to “Ultra” (setting it to ultra will consume more time, however). You need to set the Dictionary size according to your PC’s memory, the set value should be 10 times less than your Available memory. The higher the set value is, the better (if you have 1GB available memory then you can easily set it to 64MB).

For best results “Solid Block Size” should be set to “Solid”. You can also add a password on the right side of the window for file protection. Only the person who has the password will be able to open the folder.

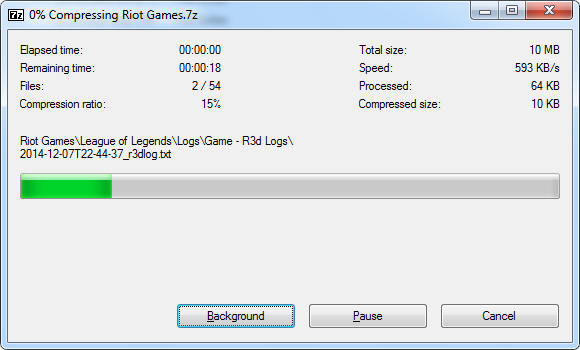

Now just click on “OK” and the process will start (time depends on the size of files and compression level set). Once the process completes, the compressed folder will be shown in the same location where your files are.
Compress Files using WinRAR
WinRAR is another great tool for this purpose and comes with quite robust customization options. It will let you compress, Encrypt and make a backup of the files.

Once installed, right click on file(s) which you would like to compress and click on “Add to archive… from the context menu (it will have WinRAR logo next to it.

A new window will open, there you can select archive format and customize many Archiving options.

You can customize, however you like, but make sure “Compression method” is set to “Best” for optimum results (the compression time will increase). You should also checkthe checkbox next to “create solid archive” for best results.


Now go to “Advanced” tab and from there click on “Compression…”. There, make sure everything is set to “Auto” and “Dictionary size” is set to the maximum available size.

You can also add a password to the compressed folder right in the “Advanced” tab.


Once everything is set, click on “OK” and the process will start. As the process completes, you will see the compressed folder in the same location where your files are located.
Note: certain types of files such as images (.jpg, .png, etc…) videos are already highly compressed, so don’t expect their size to change. Text files are the ones that would benefit the most from compression. However, it is sometime useful to send a single big file instead of hundreds of small ones.
If there are any questions or you know a better way to compress files, then let us know in the comments below.
Filed in . Read more about Windows.