Video compression is extremely important, especially in this era of internet and technology. Even if you are an ordinary user, you may still end up in a situation where you have to upload a video on the web.
Now, raw videos are actually quite big in size, which is not good for web, you need to compress the video to make its size and format acceptable for the web, or for your own upload convenience. Video compression is a trade off between size and quality, you need to lose some quality to decrease the size of the file.
However, in many cases the decrease in quality is not too noticeable and the decrease in size is worth it. You just need to know right requirement of the video to ensure you get the least size with best attainable quality.
Compression basically depends on the “Bitrate” the higher it is set, the larger the file will be and if it is set lower your will get smaller file while sacrificing quality. There are many tools for this purpose and are mostly free to use. If you know how video compression works, you can easily use any tool to get desired results.
In this tutorial, we are going to show you how compression process works, so you will be able to gain desired results without sacrificing on quality.
Note: Most of the videos found on Web are already compressed and compressing an already compressed video may not result much fruitful. Before compressing, make sure the video you are about to compress is not compressed already to ensure you get best results.
Use Avidemux to Compress Videos
Avidemux is an Open-source software that is used for editing videos. It comes with quite good video editing options and will let you easily compress videos and also change their format. If you would like to learn more about Avidemux, click here.


Just download the software and launch it. To add your desired video, click on “blue folder” under the option “File” or click on “File” and from the menu click on “Open”.
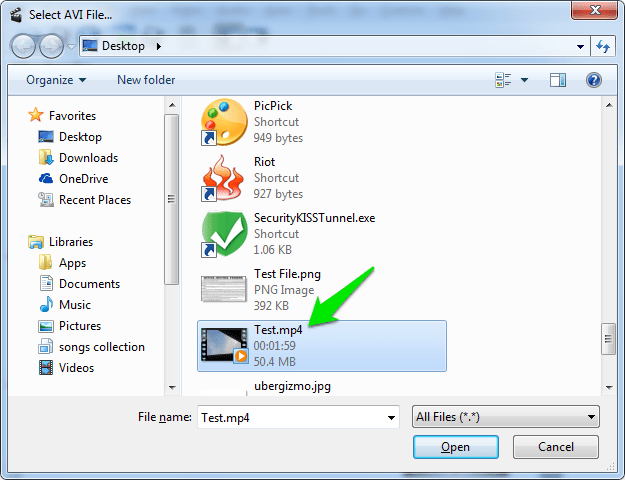
Now, choose the video which you would like to compress and click on “Open”.
You need to change Audio and Video format settings according to the requirement and configure Bitrate to achieve desired results. We will show you how to do all this, but you will have to make changes according to the requirement of your Video.

Click on drop down menu below the heading “Video Output” and from there choose “Mpeg4 AVC (x264)”. It is the most compatible format for your Video, you are free to choose other options if you know what you are doing.

Click on the drop down menu below “Audio Output” heading. From the menu, choose “AAC (Faac)”. When this option is selected the audio of the video will also be compressed ensuring best results.

Now, click on the drop down menu below the option “Output Format”. Here you will have to choose the format of the final video which you require. We are going to choose “MP4 Muxer”, it’s is accepted by almost all new devices and is currently considered as Universal format. If you don’t know which format to choose, then go for “MP4 Muxer”.


Once the formats of video is set, you need to specify how much you want the video to be compressed. For this purpose click on “Configure” under the heading “Video Output”. Now, click on drop down menu next to “Encoding Mode” located under the heading “Rate Control”.


From the drop down menu choose “Video Size (Two Pass)”. Once selected, enter the desired compressed size in MBs in the box next to “Target Video Size”. In this tutorial, the test video is of 50.4 MB and we are going to compress it to 20MB. So we will enter “20” in the box and click on “OK”.


To start compression process, we will have to click on “Save Video”, it’s located under the option “Recent”. As you click on it, a window will open where you will have to choose the file location and give it a name. Once done, click on “Save” and the compression process will start.

As the process completes, your compressed file will be saved in the specified location. The compressed file will not be of exact same size as you specified, it will be near the specified size, either bigger or smaller.

We specified a size of 20MB in the tutorial, and our compressed file has a size of 17.8MB. After the compression, there was no drastic decrease in the quality of the video, we didn’t find any change in the video with the naked eye. We also tried compression to a 10MB Video, but the quality was still great.
Filed in . Read more about Videos.