If you own a Chromebook or if you want to collaborate online to work on any documents, Google Docs is a tool that works well and many people opt for that choice. Google Docs is a simple yet powerful online tool which lets you easily format your document. However, its interface is different from other word processors, and a number of people try to figure out how to change the margins. We will explain that process in this article.
Set The Margins Using Page Setup
- Ensure that you are logged into your Google account.
- Now, head on to docs.google.com
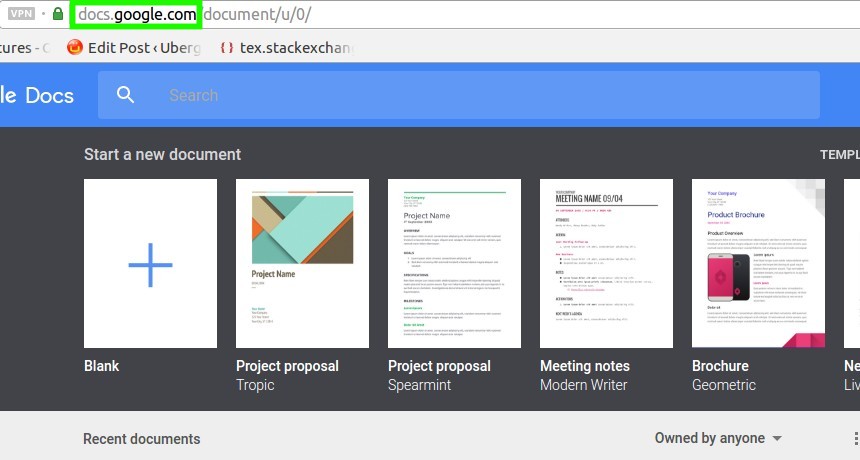
- You can either get started with the document or do the page setup first (as you wish).
- Click on “File“.
- Now, navigate your way to the Page Setup option as shown in the image below.

- After you click on it, you can observe the fields on the right-hand side to set the margins (in Inches). Now, you can set it as per your requirement. In case, you want it to revert back to its default settings, click on Set to default.

Set Paragraph Margins By Sliding the Pointers
You can also customize the paragraph margins easily by dragging and sliding the pointers. Here’s how it looks like:
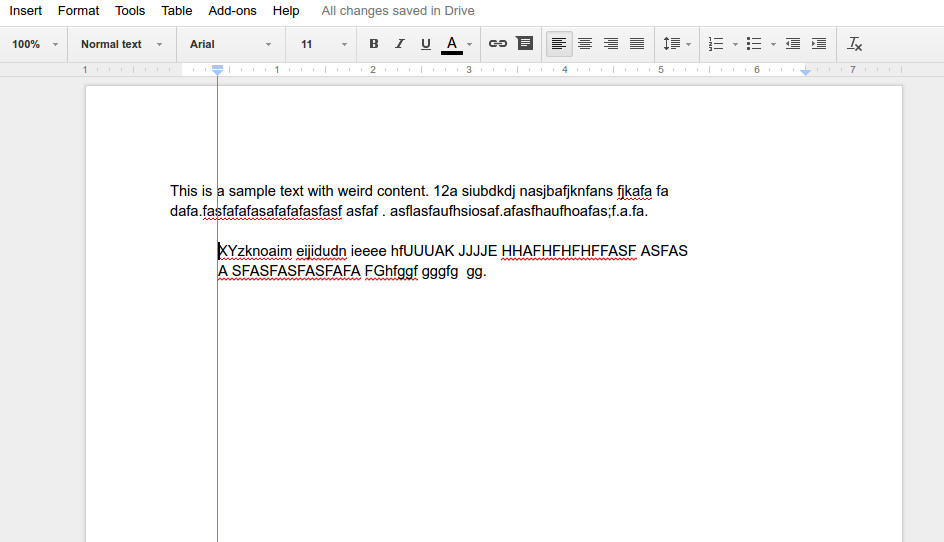
As you can observe in the image above, there are two margin pointers (one left and another right). To help you understand, we have highlighted the margins in separate images given below.
Left Margin Pointer:

Right Margin Pointer:

Finally, now you know how to change margins in Google Docs. You can either set up the page margins by navigating your way to the page setup option or you can try tweaking the margins by utilizing the paragraph margin pointers.
Which one of the methods are you going to use more? Let us know your thoughts in the comments section below.
Filed in . Read more about Google Docs.