The GPU in our computers are pretty important. While they might be primarily viewed as a piece of hardware catered towards gamers, they wear many hats and can perform a myriad of tasks ranging from the mundane to the complex, and as such, are used not just for gaming, but video processing, image rendering, and so on.
GPUs also typically come with drivers, or software, that helps them to do what they need to do. These drivers do get updated from time to time to support newer software and features, so if you’ve ever encountered an issue while trying to render a video or if the graphics in your games don’t look right, it could be because of an outdated driver.
If you want to make sure you have the latest drivers available, then read on because this guide will show you how to manually update your GPU’s drivers.
How To Update Your GPU Drivers

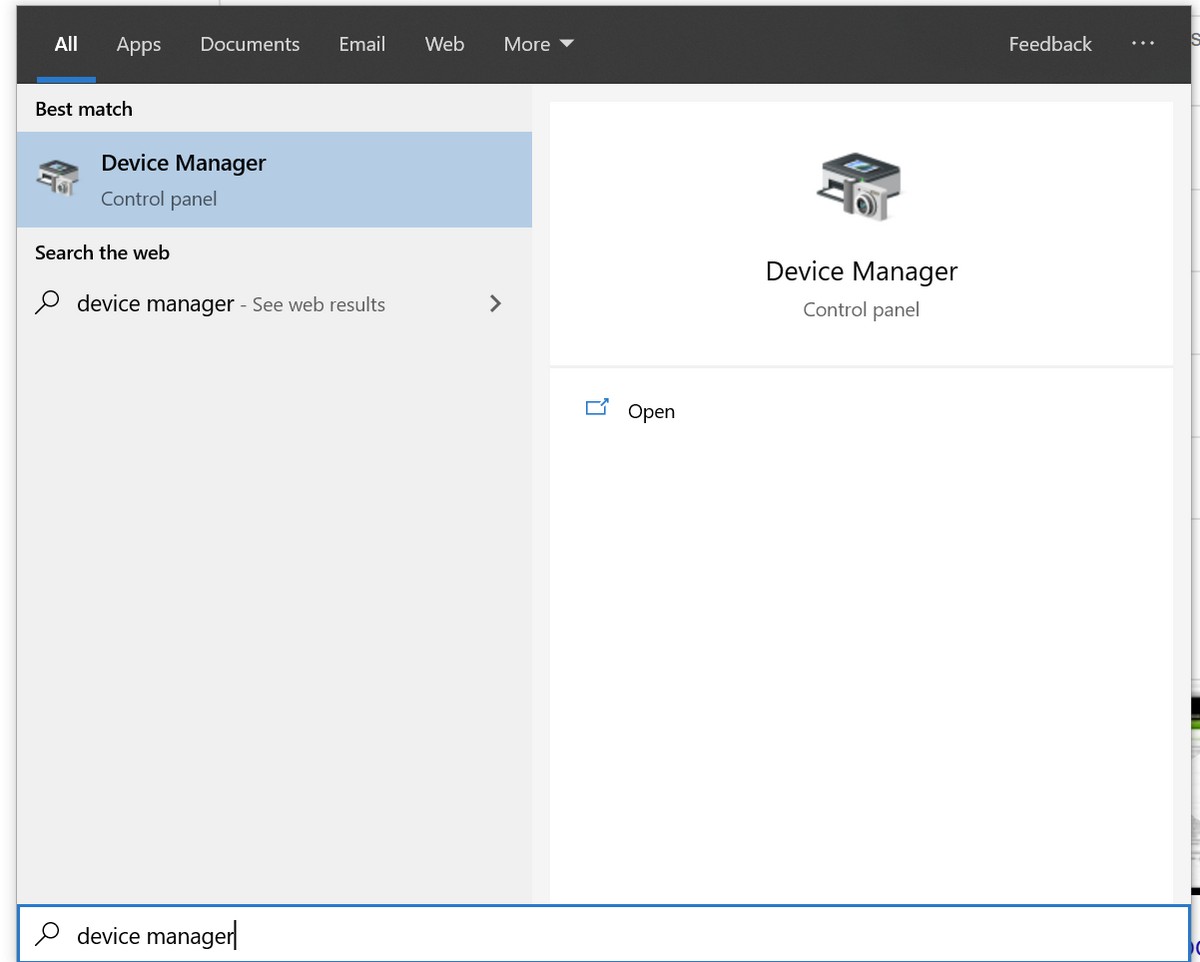
- Open the Start menu and type in “Device Manager” and launch it
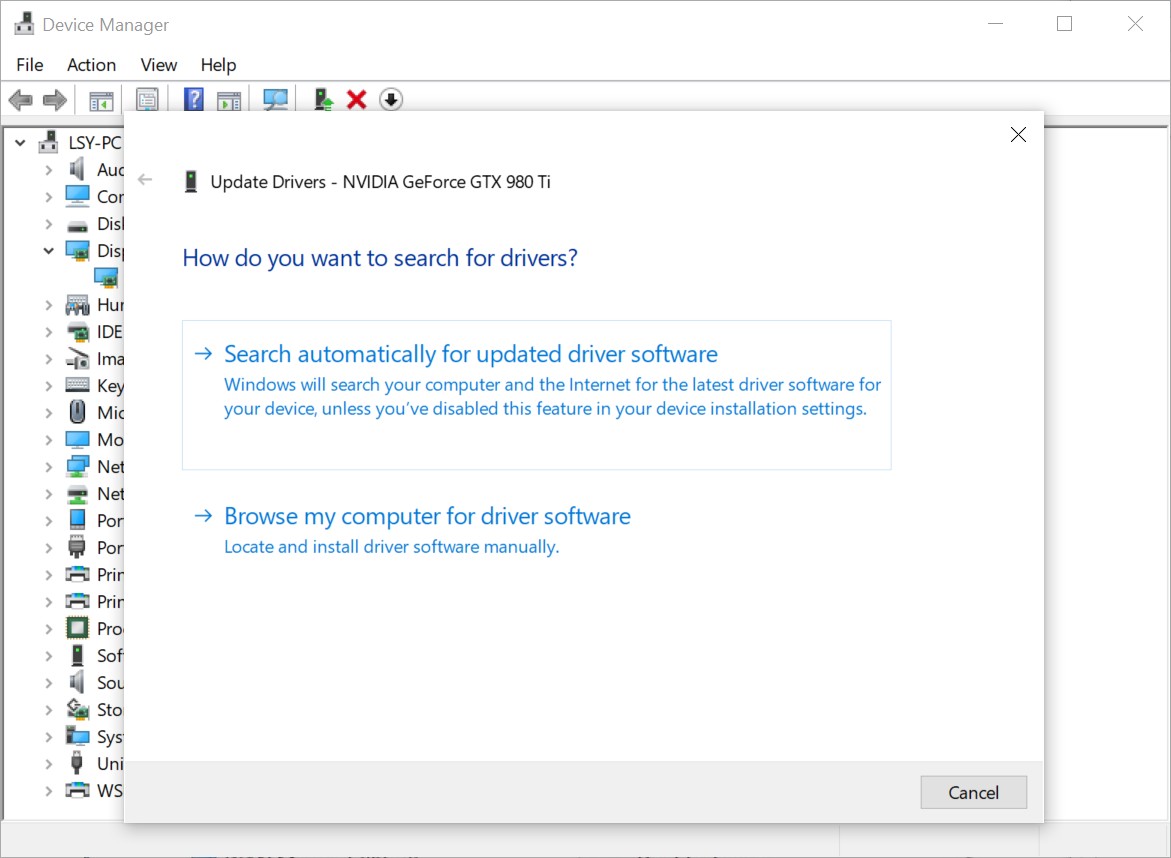
- Locate your GPU under Display adapters

- Right click and select Update Drivers

- If you’ve already downloaded the latest drivers on your computer, select “Browse my computer for driver software”, if not, choose the first option

- Once the updated drivers have been installed, you should be good to go
If for whatever reason Device Manager cannot locate the drivers online, you can always manually download them from the manufacturer’s website.
NVIDIA
If you’re using an NVIDIA GeForce GPU, you can download the drivers directly from NVIDIA’s website.

- Go to NVIDIA’s website
- Select your make and model from the dropdown lists and click Search
- Click Download
AMD
For those of you who are using AMD’s GPUs, the process is pretty much the same.

- Go to AMD’s website
- Select your GPU from the list
- Click Submit

- Select the software you want to download and click Download
Filed in . Read more about AMD, GPU (Graphics Processing Unit), Microsoft, NVIDIA and Windows.


